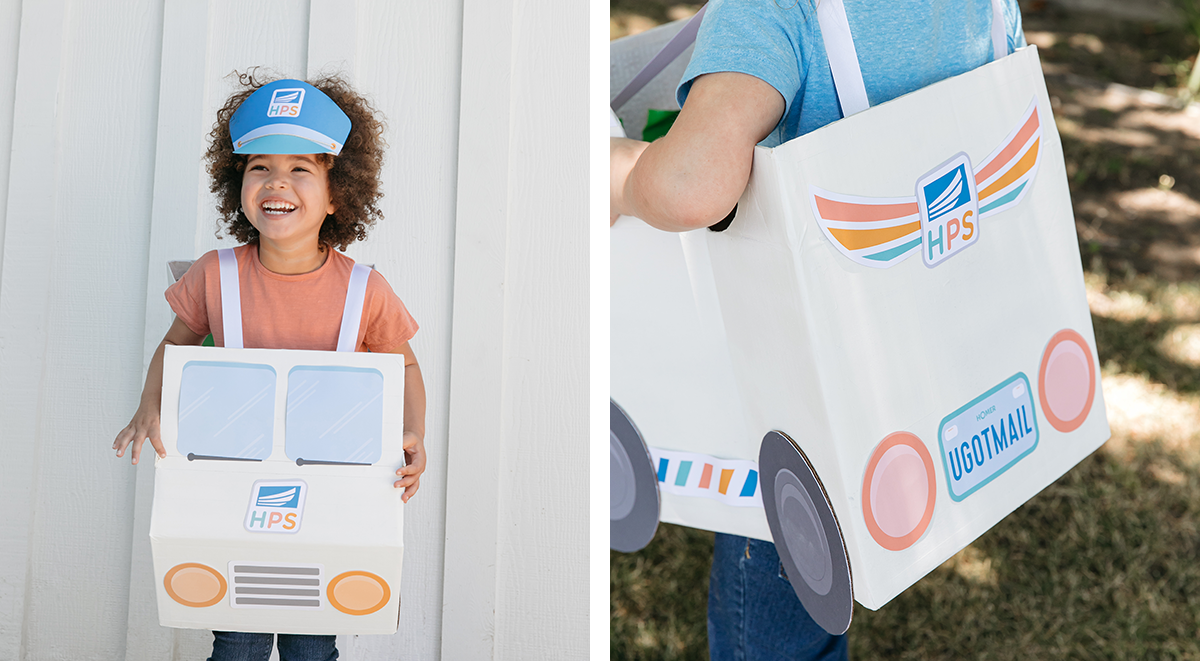
Bring the post office to life with this adorable DIY Mail Truck. All you’ll need is a cardboard box, paint, and a few more tools listed below. Note: This project is best completed with tons of support from an adult (lots of cutting!).
• Printable Mail Truck Decorative Pack
• 8.5″ x 11″ Standard Printer Paper or Card Stock
• Cardboard Box (pick a box large enough that your child can stand inside of it)
• Wide masking tape
• Hot Glue Gun (or glue of your choice)
• White Spray Paint or Acrylic Paint
• Paint Brush, Sponge or Roller
• 1″ Wide Ribbon for Straps
• Scissors
• Box Cutter
DIRECTIONS
There are many ways you can make a cardboard truck or car. Below you’ll find basic instructions, but feel free to get creative with it!
To make the body of the truck:
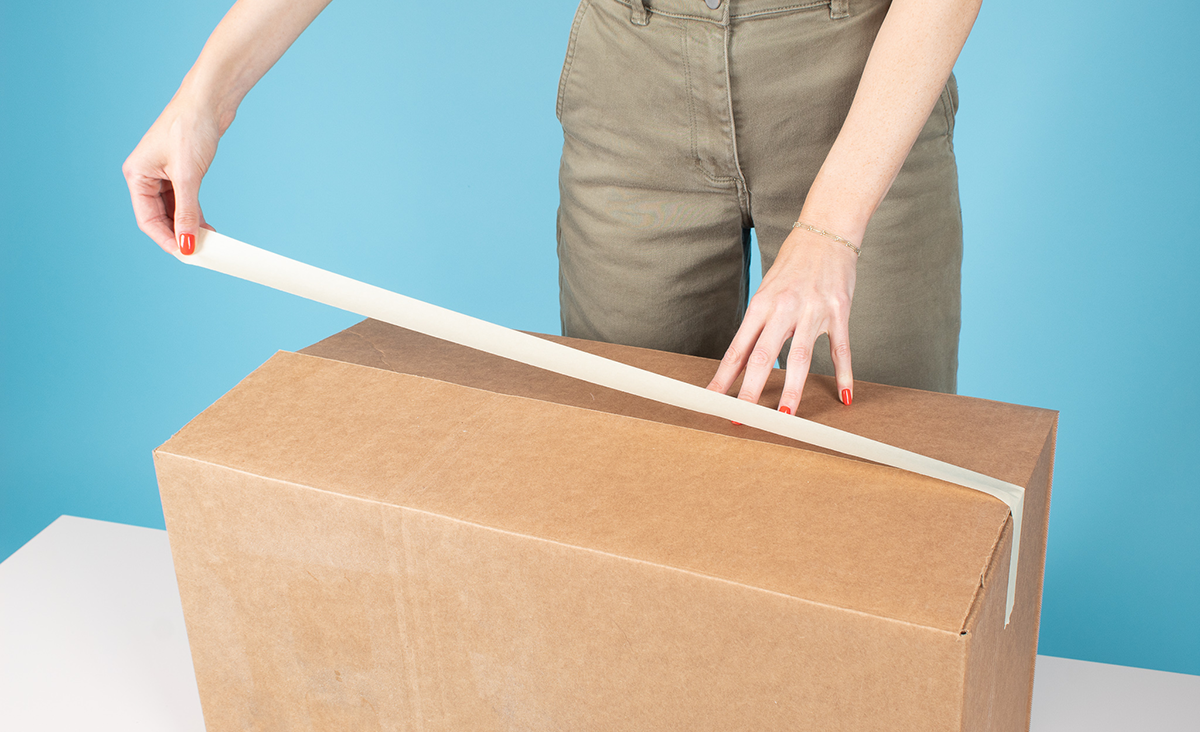
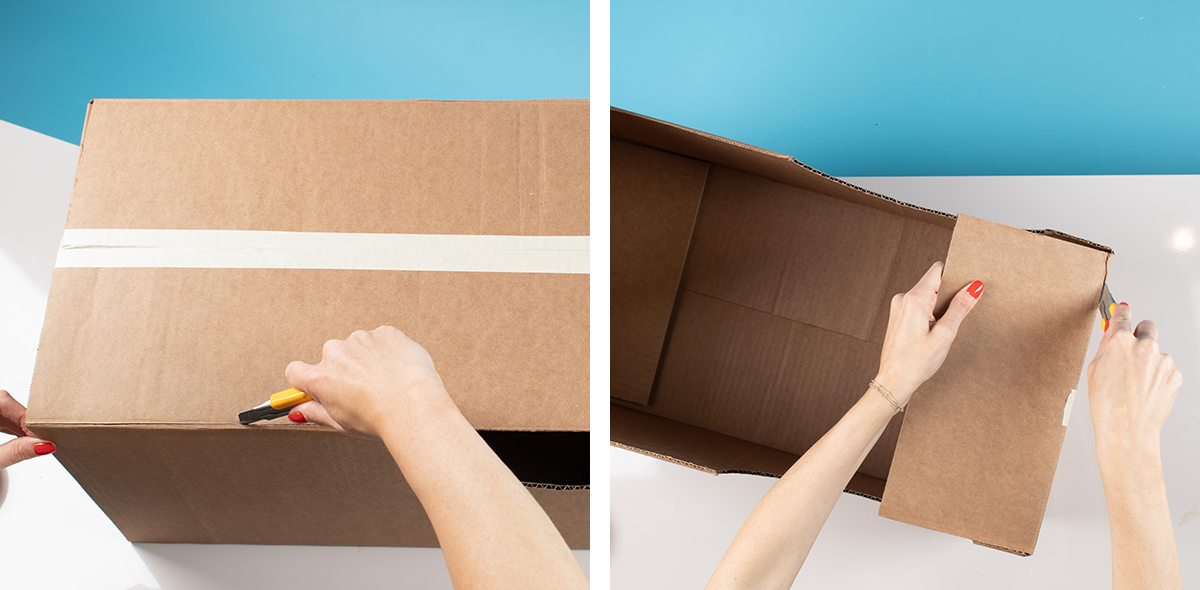
- Seal the cardboard box with packing or masking tape. This will make the box more sturdy as you make your cuts. Decide which end will be the front of your truck and which will be the back.
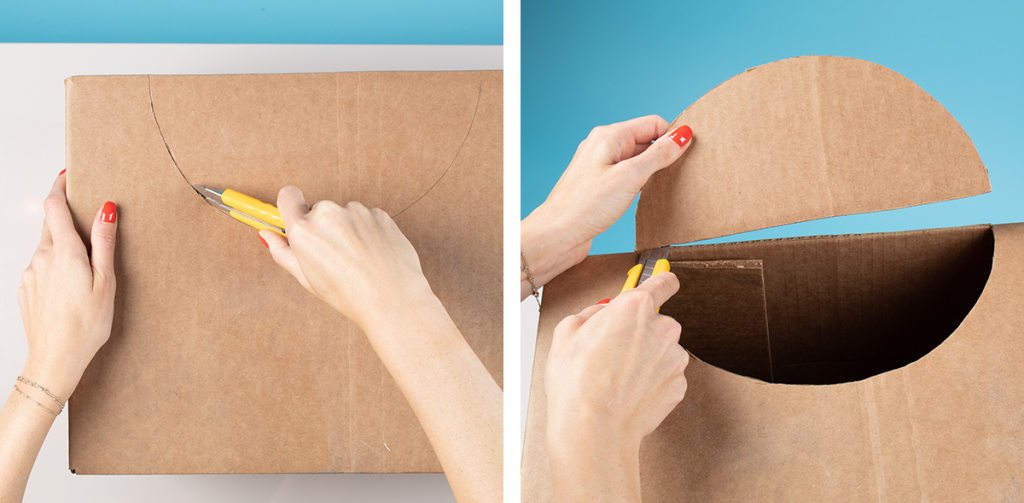
- Next, make the armholes. Use a box cutter to cut out a semi-circle about 8-10″ in diameter on each side (about 3-inches from the back of the truck).
- Now, cut off the side and back closure flaps of the box. Leave the front flap, this will be your windshield.
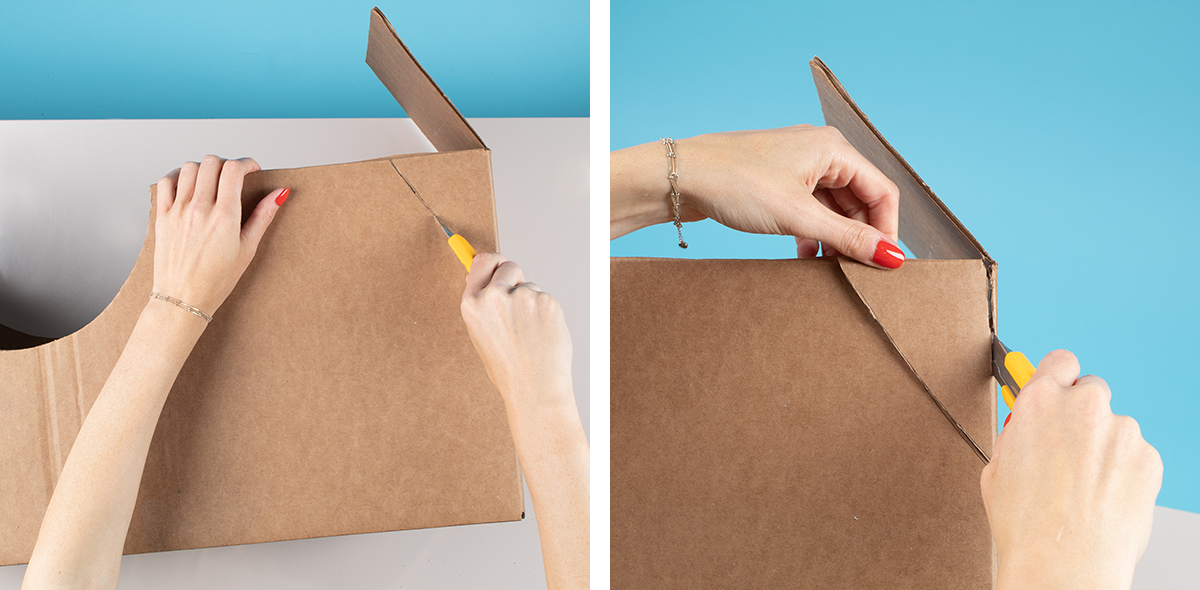
- Next, create the angled hood. Draw an angle on both sides of the box and cut it out of the side.
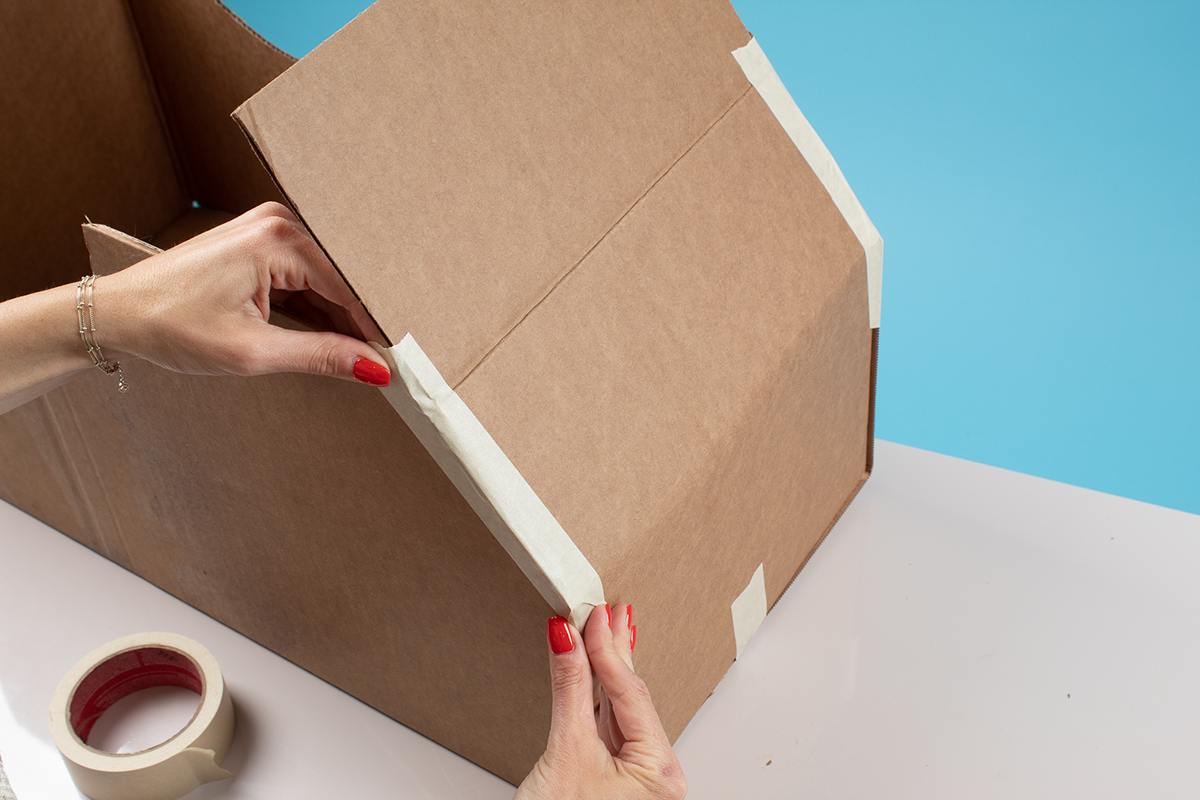
- Tape the front flap of the box along the angled side to create an angled hood and windshield.
- Finish building your truck by cutting off the bottom flaps of the box so your child can step into it.
Decorate your mail truck:
- Use spray paint or acrylic paint with a brush to paint your mail truck.
- While the truck is drying, print out the decorative printable.
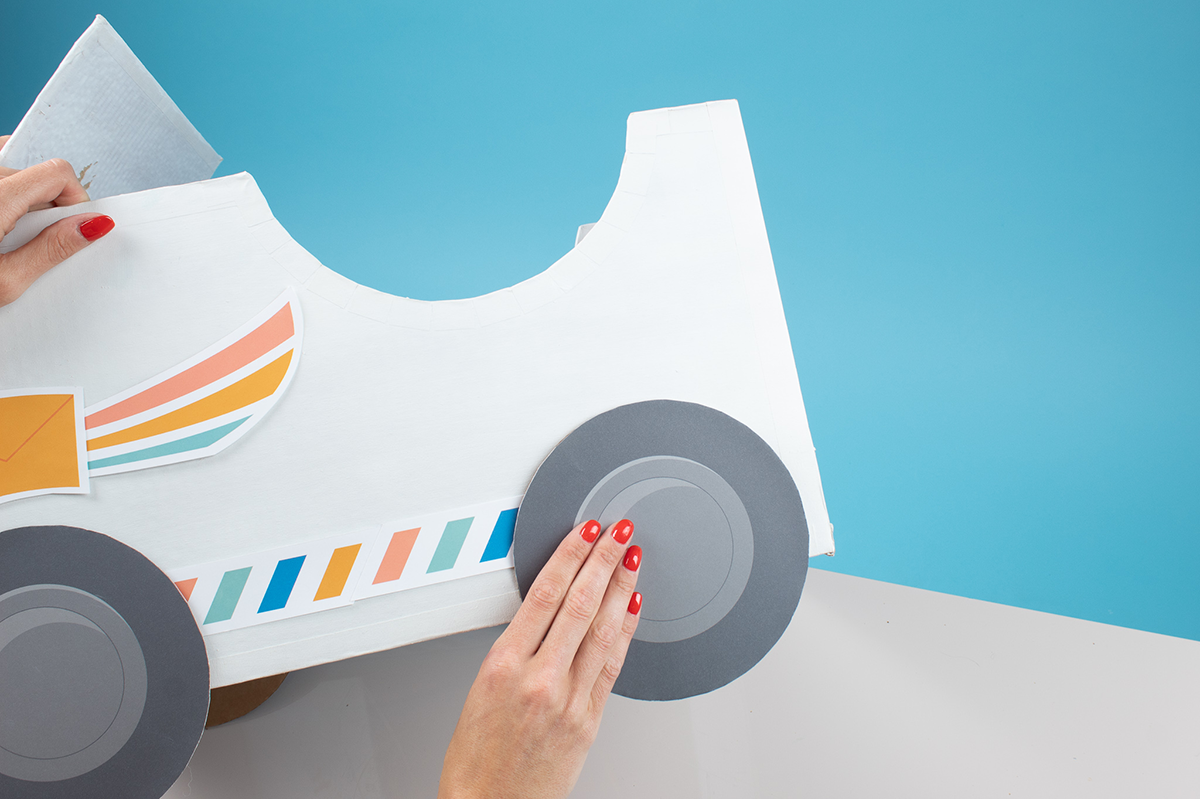
- Cut out the printables and plan how you would like to decorate. Tip: We glued the wheels to cardboard so they would have more structure. It can be a little tricky to cut out circles with cardboard, so try to use a thin piece or even a paper plate!
- Once the truck is dry, decorate your truck by attaching the wheels and printable truck shapes!
Optional:
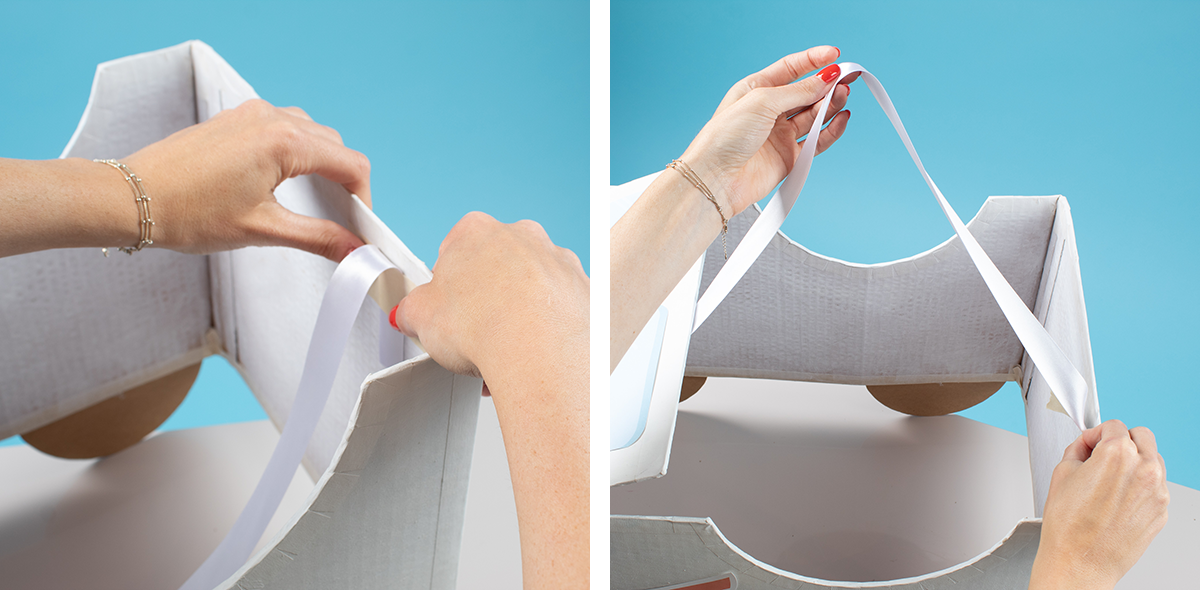
If you’d like to make the truck wearable, you can add ribbon straps! Measure according to your child’s height, and attach the straps with hot glue, staples, or super-strong tape!
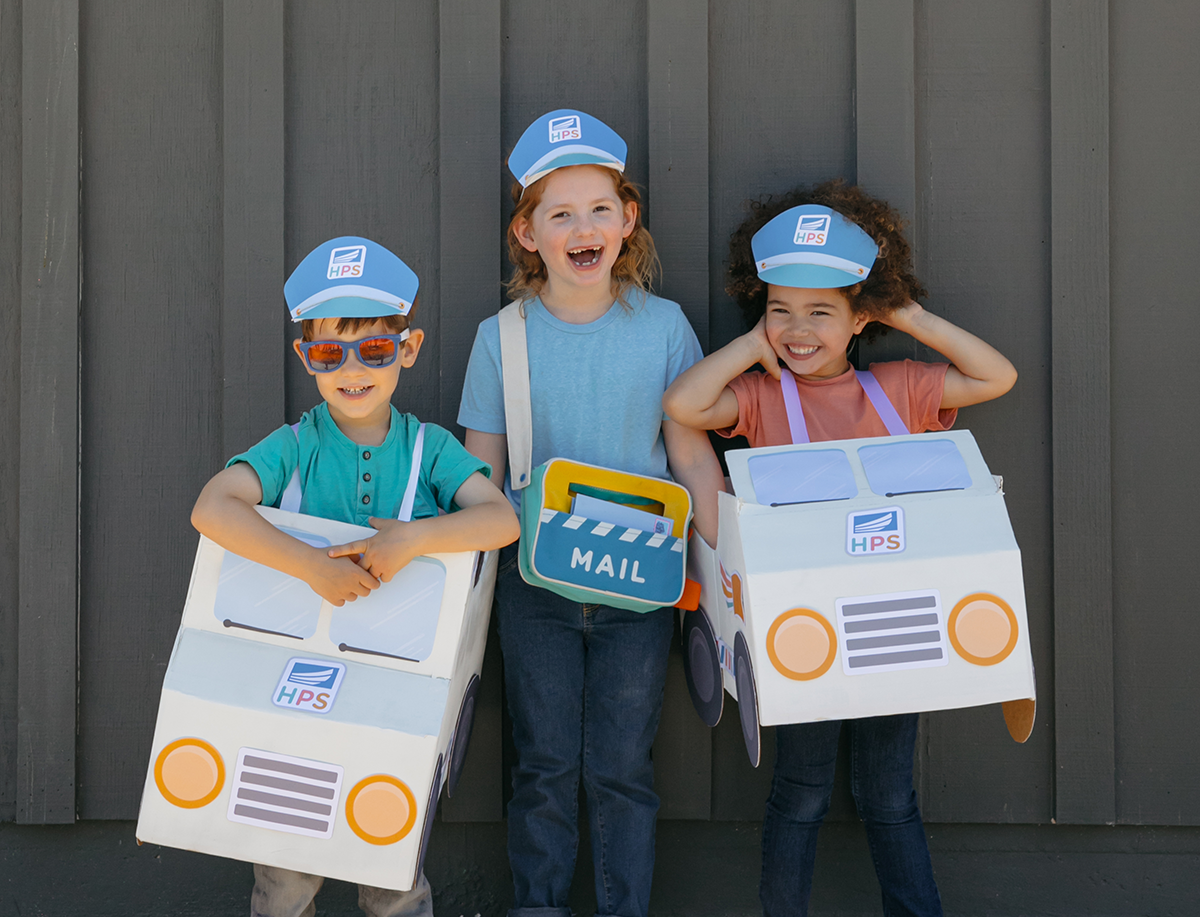
Complete the look! Click here for a DIY Mail Hat